
Icenium Everlive is Backend as a Service offering from Telerik. In this post we will take a look on how easily KendoUI DataSource can be used to fetch data from Icenium Everlive.
Read more about Kendo UI DataSource here
To start with, in Everlive I have created a content type with name Session. In Everlive Content type represents a data type or loosely I can say a table. I have created content type with name Sessions. Now we need to fetch all the items from Sessions content type using Kendo UI DataSource.
Very first we need to add reference of Everlive as below,
<script src="scripts/everlive.all.min.js"></script>
After adding reference create instance of Everlive as below. You need to pass Everlive application key as parameter while creating instance of Everlive. You will find application key on Everlive portal.
var el = new Everlive('W1286lVOH0DXYZ');
Now you will be amazed seeing how easily you can fetch all the items from Session content type using Kendo UI DataSource. Only you need to provide type as everlive and in transport typeName as name of Everlive Content type.
var sessionDataSource = new kendo.data.DataSource({
 type: 'everlive',
 transport: {
 typeName: 'Sessions'
 },
 schema: {
 model: { id: Everlive.idField }
 }

});
While fetching data from Everlive using Kendo UI Data Source, we need to set following
- type as everlive
- In transport typeName as content type name. You need to provide name of the content type which data items you want to fetch. In this case we want items of Sessions content type so typeName is Sessions
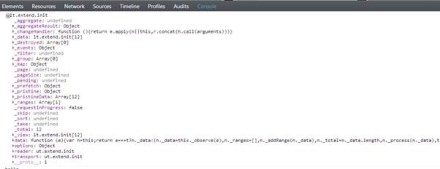
You can verify in any debugger console that data is fetched from Everlive in Kendo UI DataSource.

Now once you have data at the client side you can use them as of your requirement. You can bind that ListView , GridView etc. I hope you find this post useful. Thanks for reading.

Pingback: How to insert data in Icenium Everlive using KendoUI DataSource | Telerik Helper